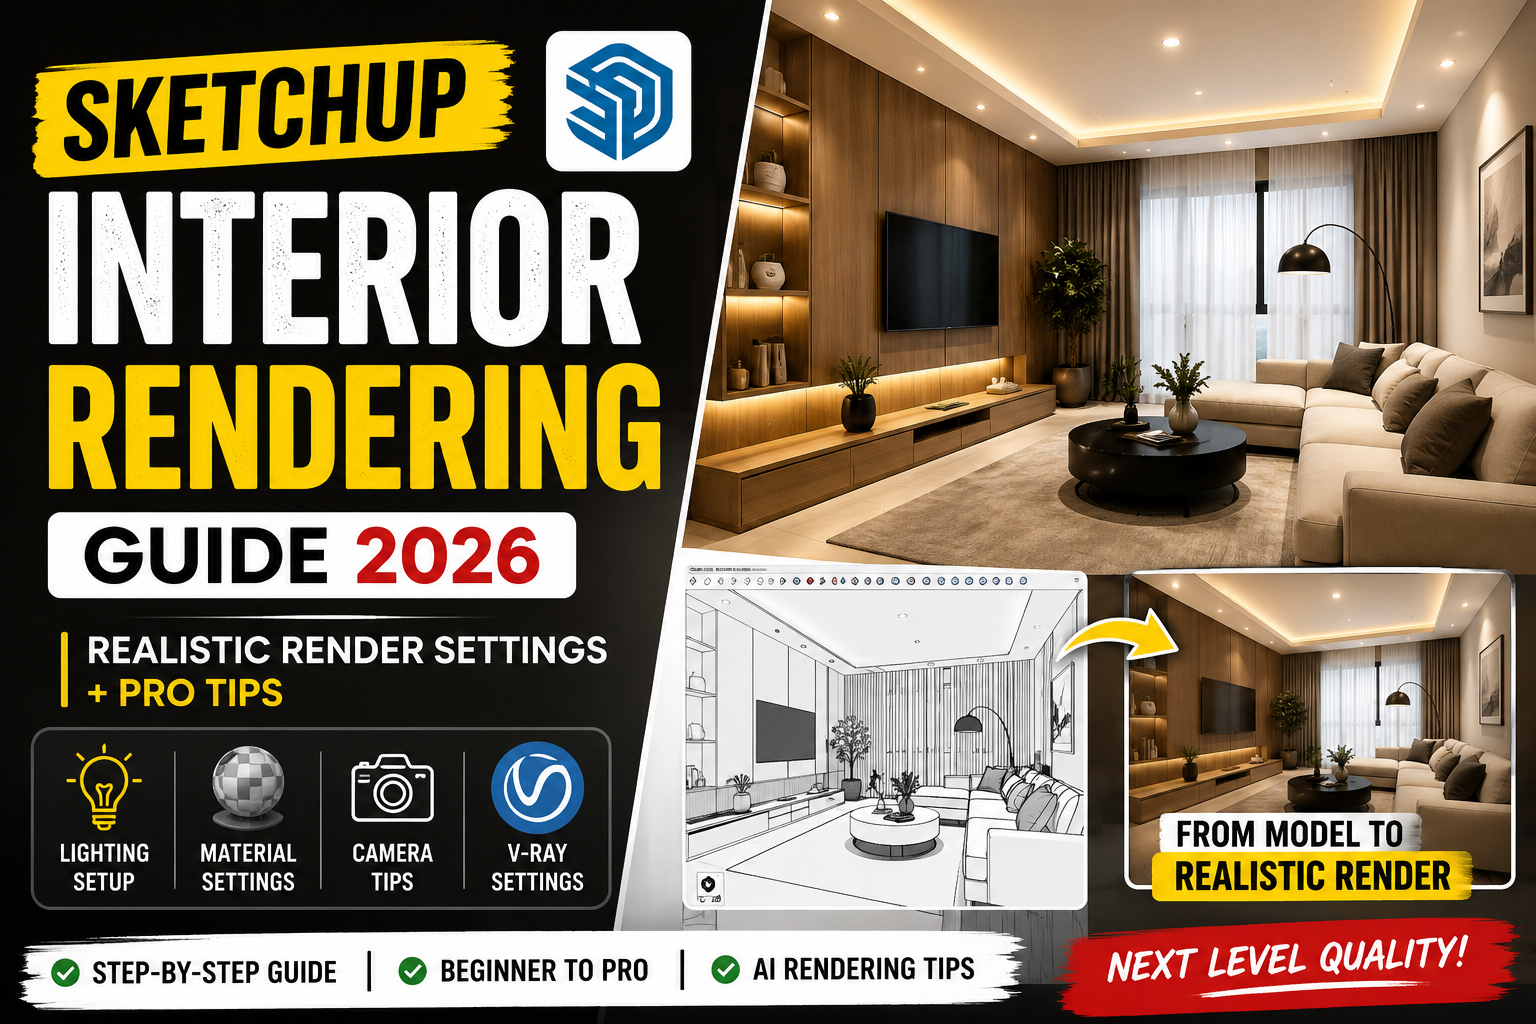
Agar aap SketchUp me kaam karte ho lekin realistic render nahi nikal pa rahe, to yeh guide aapke liye perfect hai. Bahut log modeling to achi kar lete hain, lekin final render dull ya unrealistic lagta hai. Is blog me hum step-by-step process dekhenge jisse aap professional quality interior renders bana sakte ho.
1. Perfect Model Setup (Foundation Strong Rakho)
Rendering start karne se pehle model clean aur optimized hona chahiye:
- Proper scale use karo (real-world dimensions)
- Extra lines aur hidden geometry delete karo
- Groups aur components properly organize karo
- Unused materials purge karo
👉 Clean model = fast render + better output
2. Lighting Setup (Game Changer)
Natural Light
- Window ke through sunlight add karo
- Sun angle adjust karo for soft shadows
- Morning ya evening light best hoti hai realistic feel ke liye
Artificial Light
- Ceiling me recessed lights add karo
- Cove lighting use karo premium look ke liye
- Warm light (3000K–4000K) use karo cozy feel ke liye
👉 Tip: Over-lighting mat karo, warna render flat lagta hai
3. Material Settings (Realism yahi se aata hai)
- High-quality textures (2K/4K) use karo
- Reflection aur roughness balance karo
- Wood, marble aur fabric ke realistic maps use karo
- Glass ke liye reflection + refraction sahi set karo
👉 Common mistake: Default SketchUp materials use karna
4. Camera Settings (Professional Look)
- Field of view: 30–45 rakho
- Eye level camera (4.5–5 feet) use karo
- Composition me rule of thirds follow karo
- Straight vertical lines maintain karo (no distortion)
5. V-Ray Settings (Best Output ke liye)
- Render Quality: High
- Global Illumination: ON
- Noise Threshold: Low rakho (clean render ke liye)
- Denoiser enable karo
- Light cache aur irradiance map optimize karo
👉 Low-end PC users preview render use kare pehle
6. AI Rendering Workflow (Next Level Output)
Aajkal AI tools se aap apne renders ko next level pe le ja sakte ho:
- Base render SketchUp/V-Ray me nikalo
- AI tool me upload karo
- Lighting, mood aur detailing enhance karo
- Final output upscale karo
👉 Result: Ultra-realistic aur client-ready images
7. Common Mistakes (Avoid karo)
❌ Low resolution textures
❌ Overexposed lighting
❌ Wrong camera angle
❌ Unrealistic material reflection
❌ No post-processing
Conclusion
Agar aap upar diye gaye steps follow karte ho, to aap apne SketchUp renders ko easily professional level tak le ja sakte ho. Practice aur experimentation hi success ka main key hai.
Need Professional 3D Rendering?
Agar aapko high-quality interior ya exterior 3D renders chahiye, to aap humse contact kar sakte hain. Hum client presentation ke liye premium quality renders provide karte hain.
👉 Contact now for your next project!